
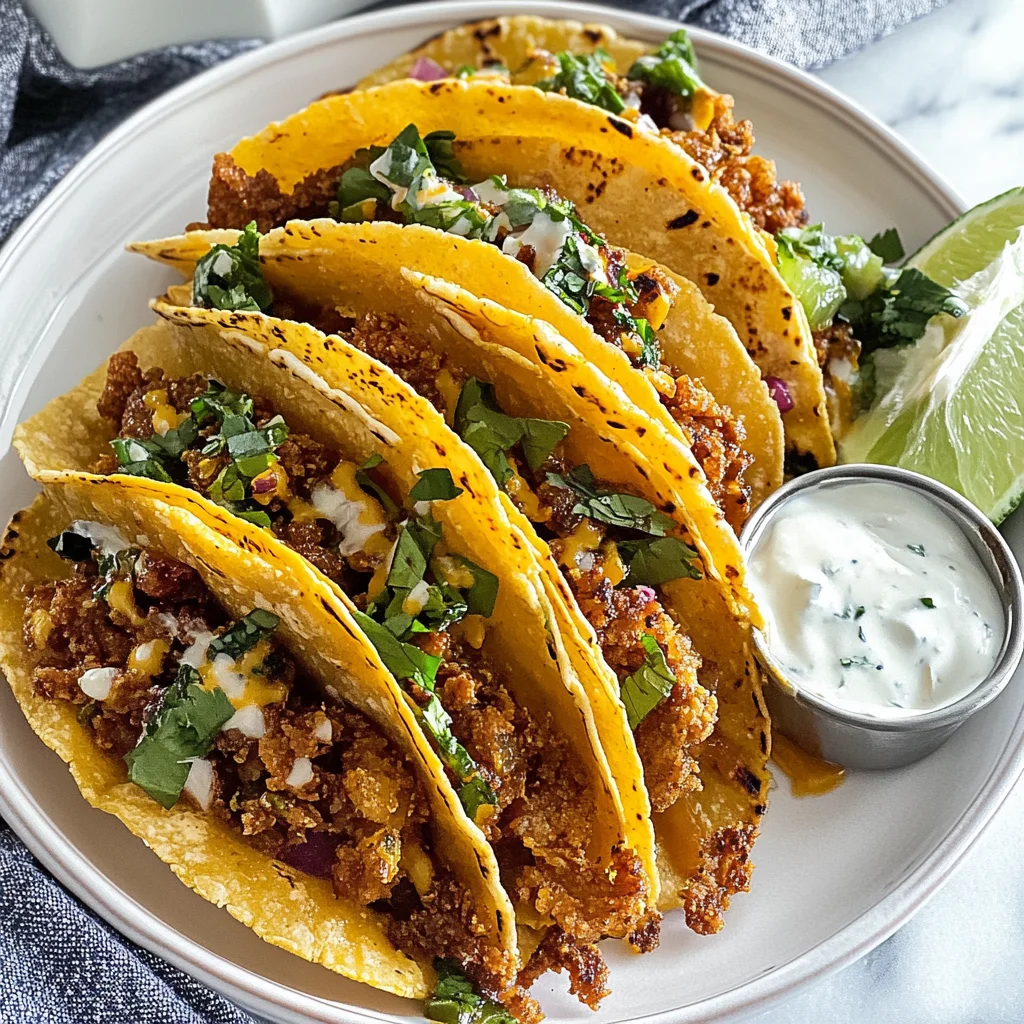
Imagine sinking your teeth into a crunchy shell, bursting with seasoned meat and vibrant toppings that dance on your palate—Crispy Fried Tacos are a fiesta for your senses. The golden exterior crackles delightfully while the warm, savory filling sends you straight into flavor heaven, making each bite an irresistible celebration of textures and aromas.
I still remember the first time I tasted these little delights at a neighborhood gathering, where laughter mingled with the enticing scent of frying tortillas. Crispy Fried Tacos have since become my go-to for spontaneous dinners and casual get-togethers, promising joy and mouthwatering satisfaction that always brings smiles to the table.
Why Is Crispy Fried Tacos So Irresistibly Good?
Quick and easy: With just 15 minutes of prep and 20 minutes of cook time, you can whip up these tacos for a satisfying weeknight meal.
Flavor-packed filling: Each bite boasts a delicious mix of seasoned ground beef (or turkey) combined with zesty chili powder and cumin, ensuring your taste buds are dancing.
Crispy perfection: The golden-brown corn tortillas provide a delightful crunch that complements the savory filling, making every taco experience unforgettable.
Customizable toppings: From fresh lettuce and juicy tomatoes to creamy sour cream and spicy jalapeños, these tacos can be tailored to please any crowd.
Cheesy goodness: The melted cheese adds a rich creaminess that pulls all the flavors together, elevating your taco night to new heights!
Crispy Fried Tacos Ingredients
For the Taco Filling
- 1 lb ground beef (or ground turkey) – This forms the hearty base of your Crispy Fried Tacos, bringing rich flavor to every bite.
- 1 tsp chili powder – Adds a warm, spicy kick that elevates the overall taste profile.
- 1 tsp cumin – Provides a warm earthy note, enhancing the flavor complexity of the filling.
- 1 tsp garlic powder – Infuses your tacos with savory depth and aromatic goodness.
- 1 tsp onion powder – Complements the garlic and adds a subtle sweetness to the meat.
- 0.5 tsp salt – Essential for bringing out the natural flavors in your taco filling.
- 0.25 tsp black pepper – Offers a hint of heat that balances beautifully with other spices.
- 1 cup shredded cheese (cheddar or Mexican blend) – Melts deliciously, adding creaminess and richness to each taco.
For the Taco Shells
- 8 pieces corn tortillas – These will be your crispy canvas, perfect for holding all that flavorful filling.
For the Toppings
- 1 cup shredded lettuce – Adds a refreshing crunch and vibrant color to your tacos.
- 1 cup diced tomatoes – Provides juicy freshness that brightens up each bite.
- 0.5 cup sour cream – Offers a cool, creamy contrast that balances the spices perfectly.
- 0.5 cup sliced jalapeños (optional) – For those who love an extra kick of heat in their tacos!
For Frying
- 2 cups vegetable oil (or canola oil) – Necessary for achieving that golden crispy texture on your tacos as they fry.
How to Make Crispy Fried Tacos
1. Cook the Beef: In a frying pan over medium heat, cook 1 lb of ground beef until it’s nicely browned. Don’t forget to drain the excess fat for a leaner filling!
2. Season It Up: Add in 1 tsp chili powder, 1 tsp cumin, 1 tsp garlic powder, 1 tsp onion powder, 0.5 tsp salt, and 0.25 tsp black pepper. Stir everything together and let it cook for an additional 5 minutes until fragrant.
3. Melt the Cheese: Remove the pan from heat and stir in 1 cup of shredded cheese (cheddar or Mexican blend) until it melts beautifully into the seasoned meat.
Fry the Tacos:
4. Heat the Oil: In another frying pan, heat 2 cups of vegetable oil over medium-high heat until shimmering—this is crucial for achieving that perfect crispy texture.
5. Fry the Tortillas: Carefully place a corn tortilla into the hot oil and let it cook for about 30 seconds until it starts to bubble up around the edges.
6. Shape and Brown: Using tongs, gently fold the tortilla in half and continue frying until it turns golden brown and crispy, about 2-3 minutes total.
7. Drain and Repeat: Remove your crispy taco shell from the oil and let it drain on paper towels. Repeat this process with the remaining tortillas.
Assemble the Tacos:
8. Fill with Goodness: Generously fill each crispy taco shell with your savory beef mixture, then top with shredded lettuce, diced tomatoes, sour cream, and sliced jalapeños if you like a little heat.
9. Serve and Enjoy: Serve your delicious creation immediately while they’re still warm and crispy—everyone will be reaching for seconds!
Optional: Garnish with fresh cilantro for an added burst of flavor!
Exact quantities are listed in the recipe card below.
Expert Tips
- Meat Choice: Use ground turkey for a leaner option that still packs a flavorful punch in your crispy fried tacos.
- Seasoning Balance: Adjust spices to your taste; a little extra chili powder can give your filling a delightful kick!
- Cheese Melting: Ensure the cheese is fully melted before assembling; this binds the filling and enhances the flavor profile of your tacos.
- Oil Temperature: Keep the oil hot enough (about 350°F) to achieve that perfect crispy texture; too low and the tortillas will absorb oil instead of frying.
- Draining Grease: Don’t forget to drain excess oil on paper towels after frying; this keeps your tacos crispy and less greasy.
- Filling Quantity: Avoid overstuffing your tacos; too much filling can make them difficult to fold and eat, compromising that delicious crunch!
How to Store and Freeze Crispy Fried Tacos
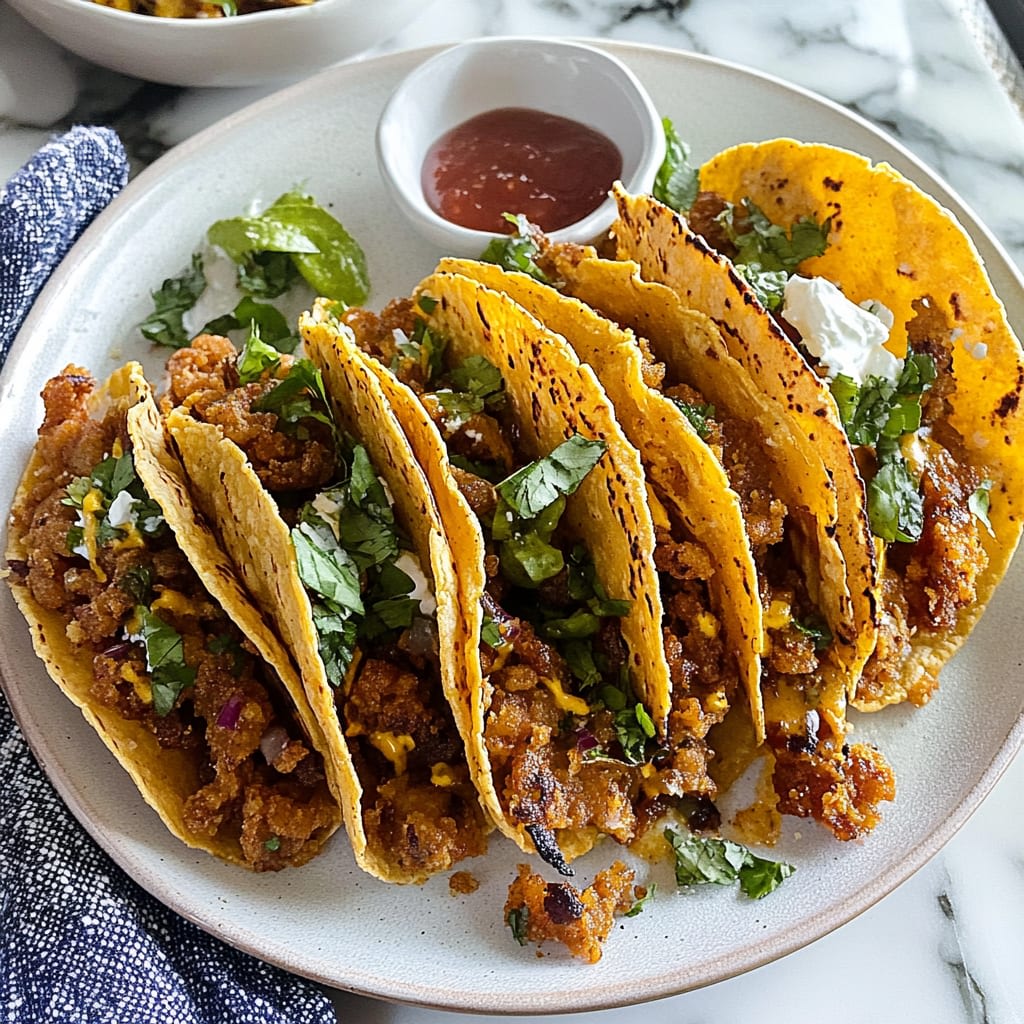
- Fridge: Store leftover Crispy Fried Tacos in an airtight container for up to 3 days. Keep toppings separate to maintain crunchiness.
- Freezer: For longer storage, freeze the taco filling without toppings in a sealed freezer bag for up to 3 months. Thaw before reheating.
- Reheating: Reheat tacos in a preheated oven at 350°F (175°C) for about 10-15 minutes until heated through. This helps restore their crispiness.
- Shelf Life: Use cooked ground beef or turkey within 3-4 days when refrigerated. Always check for freshness before consuming.
Crispy Fried Tacos Your Way
Feel free to get creative with this recipe and make it uniquely yours!
- Beef Swap: Substitute ground turkey or chicken for a leaner filling. Both options deliver delicious flavor while lightening up your meal. You won’t miss the beef!
- Cheese Change: Use pepper jack or queso fresco to spice things up. These cheeses melt beautifully and add a delightful kick that elevates every bite.
- Heat Level: Add diced chipotles in adobo for a smoky heat. This twist brings a rich depth of flavor and a touch of warmth that taco lovers will adore.
- Vegetable Boost: Incorporate sautéed bell peppers or onions into the meat mixture. This not only adds texture but also enhances the overall flavor profile, making your tacos even more satisfying.
- Taco Shell Twist: Try frying flour tortillas instead of corn for a different texture. Flour shells provide a slightly softer crunch that pairs wonderfully with the hearty filling.
- Herb Infusion: Mix in fresh cilantro or parsley with the taco filling. This brightens the dish and adds an aromatic freshness that complements the spices beautifully.
- Sour Cream Alternative: Swap sour cream for Greek yogurt for a tangy twist. It’s just as creamy and adds a nutritious element without sacrificing taste.
- Topping Variety: Experiment with toppings like avocado slices or pico de gallo for extra freshness. Each addition brings new textures and flavors, transforming your crispy tacos into something special!
Make Ahead Options
Preparing Crispy Fried Tacos is a breeze and perfect for meal prep! You can easily make the taco filling ahead of time by cooking 1 lb of ground beef (or ground turkey) with spices like 1 tsp chili powder, 1 tsp cumin, 1 tsp garlic powder, 1 tsp onion powder, 0.5 tsp salt, and 0.25 tsp black pepper. Once it’s cooked and the cheese (1 cup shredded cheddar or Mexican blend) is melted in, store it in the fridge for up to 3 days. The taco shells can be fried within a day, so just heat 2 cups of vegetable oil when you’re ready to enjoy your tacos. Assemble your crispy tacos with fresh toppings like lettuce, diced tomatoes, sour cream, and jalapeños right before serving for that fresh crunch! This way, you save time without sacrificing flavor or quality.
Crispy Fried Tacos Questions Answered
How can I make my taco filling more flavorful?
To amp up the flavor of your taco filling, consider adding diced onions and bell peppers while cooking the ground beef. You could also throw in some fresh cilantro or a splash of lime juice just before serving for a fresh twist that really brightens the dish.
Can I use different types of meat for these tacos?
Absolutely! Ground turkey is a fantastic alternative if you’re looking for a leaner option. You can also try shredded chicken or even plant-based ground meat for a vegetarian twist, just adjust the cooking time as needed.
What’s the best way to store leftover crispy fried tacos?
If you have leftovers, store the filling separately from the taco shells in airtight containers. The taco filling can be kept in the refrigerator for up to 3 days. However, fried taco shells are best enjoyed fresh; they tend to lose their crispiness when stored.
Can I freeze the taco filling?
Yes, you can freeze the taco filling! Just let it cool completely, then transfer it to a freezer-safe container. It will last up to 3 months in the freezer. When you’re ready to enjoy, simply thaw it overnight in the fridge and reheat on low until warmed through.
What should I do if my tortillas are breaking while frying?
If your corn tortillas are breaking, they might be too dry. To prevent this, warm them briefly in a microwave or on a skillet before frying. This softens them and makes them more pliable for folding.
How many servings does this recipe yield?
This delicious recipe yields about 4 servings, making it perfect for a family dinner or a small gathering with friends. Each serving has approximately 350 calories, so you can enjoy these crispy fried tacos without any guilt!