
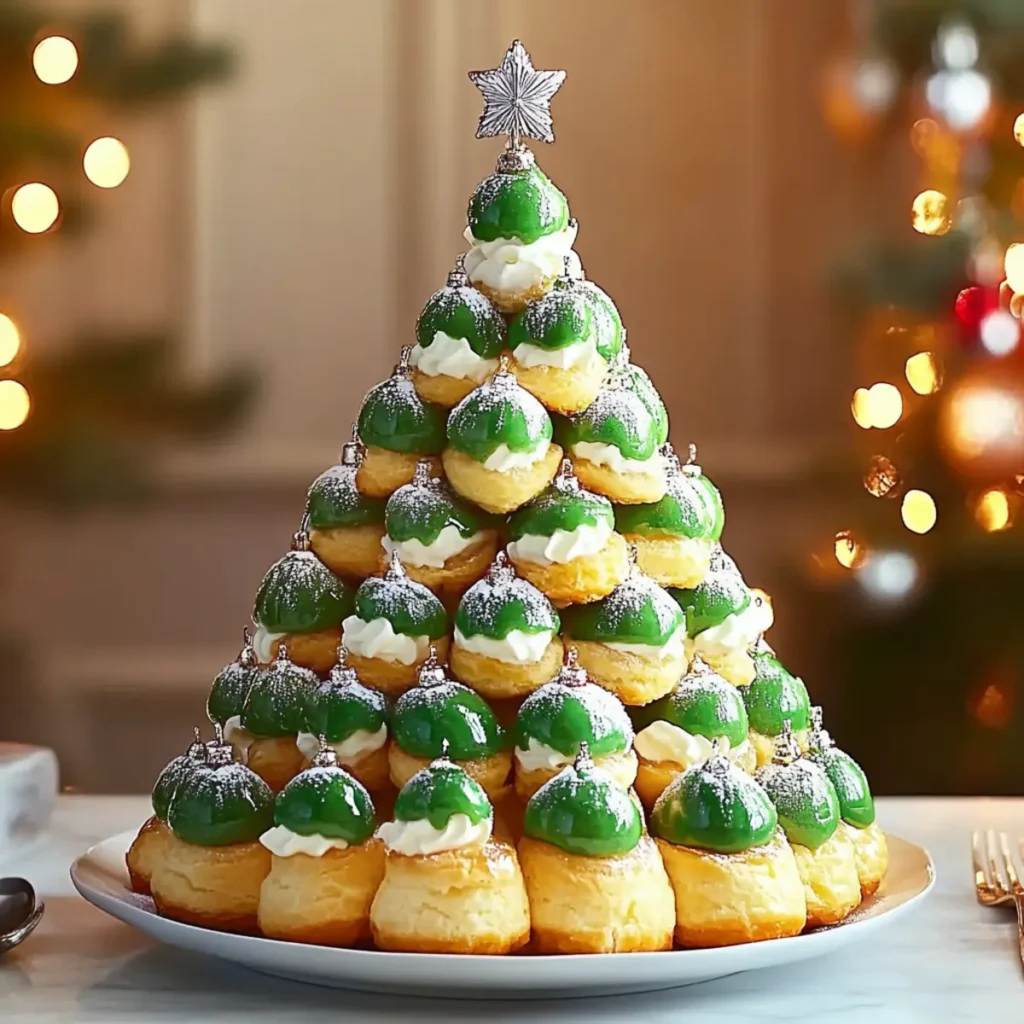
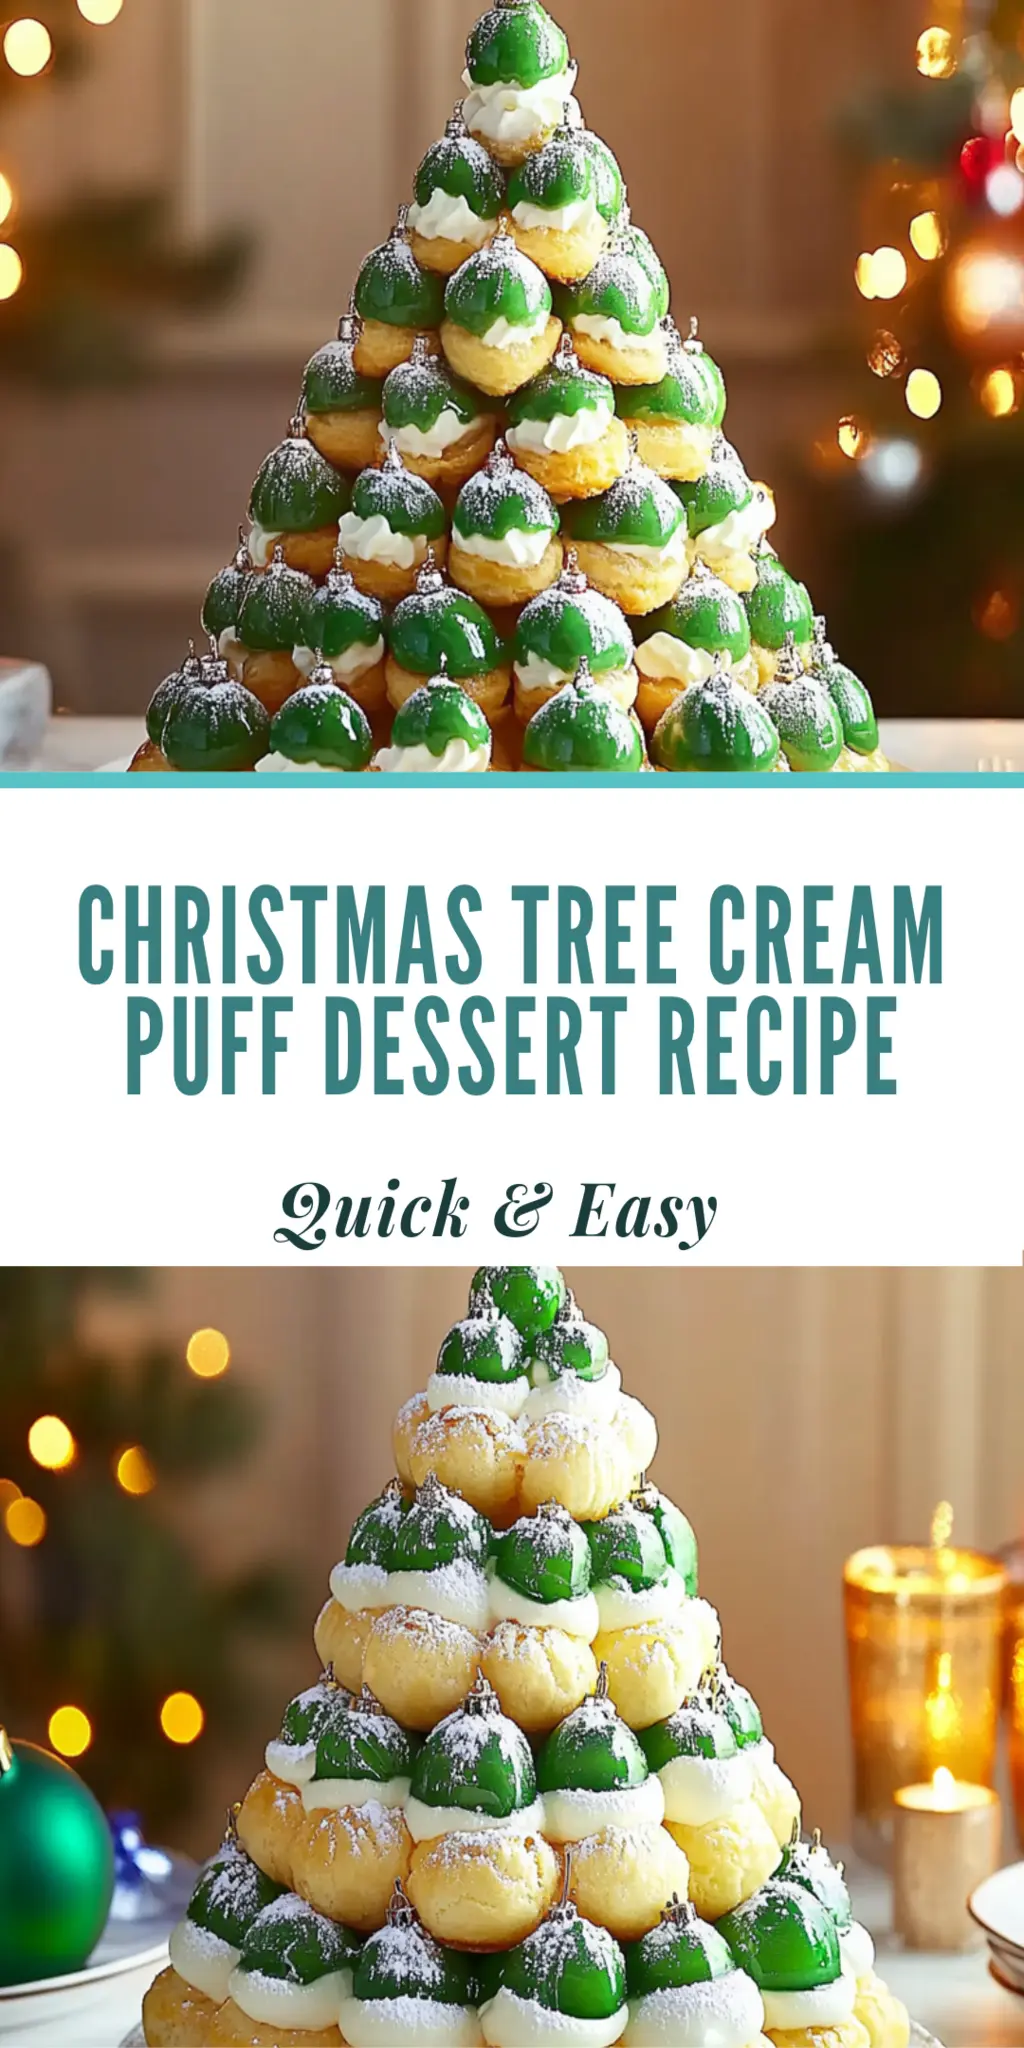
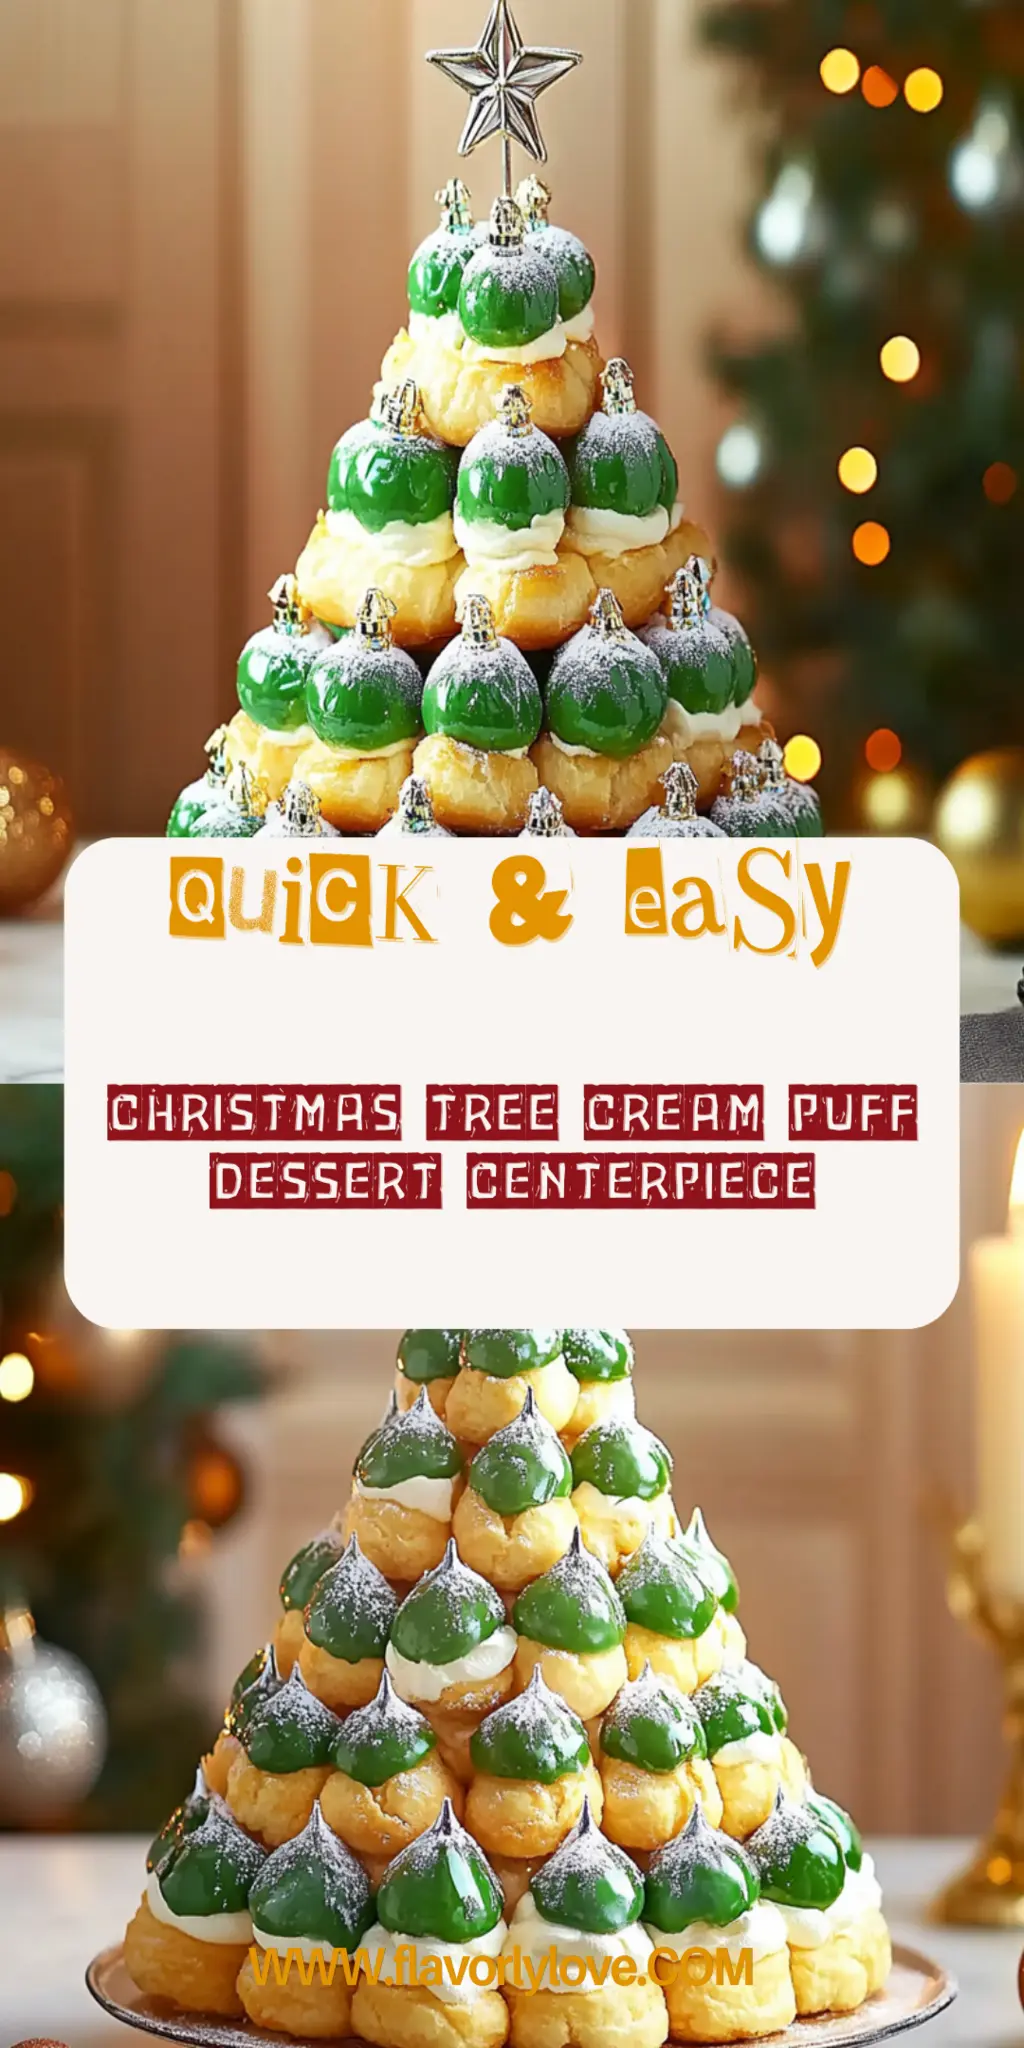
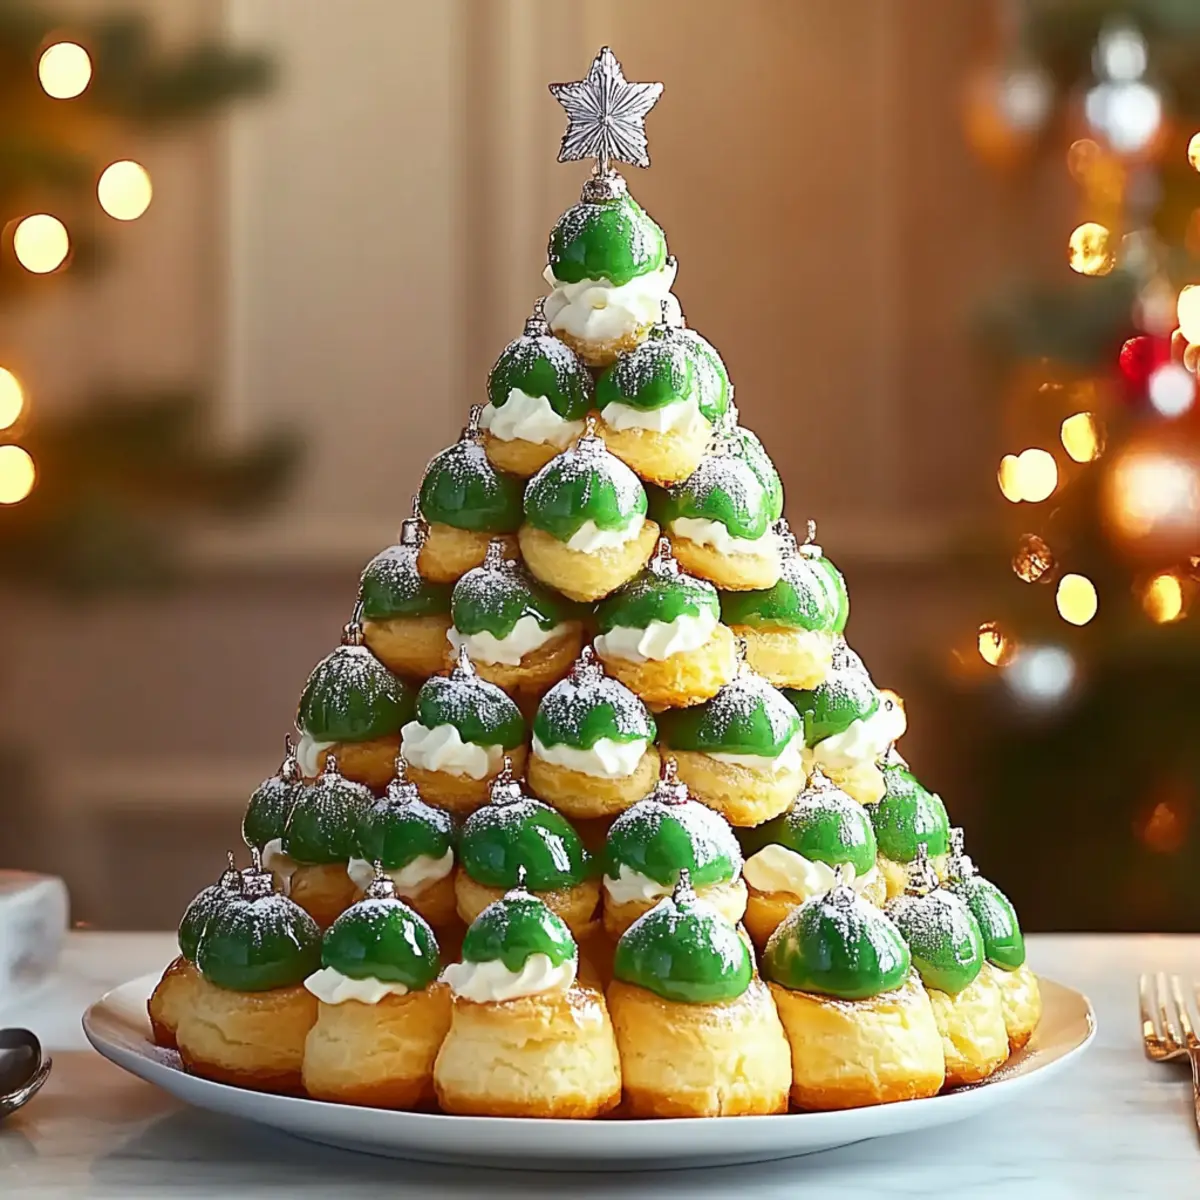
The holiday season is upon us, and nothing says festive cheer quite like a Christmas Tree Cream Puff Dessert Centerpiece. Imagine a towering green tree made of delicate cream puffs, each one filled with rich, creamy goodness. Your friends and family will be dazzled not only by its stunning appearance but also by the delightful flavors they’ll experience with each bite.
This whimsical dessert is perfect for holiday gatherings, as it brings both a visual feast and a delicious treat to the table. Whether you’re hosting a family get-together or attending a festive party, this Christmas tree will become the center of attention, leaving everyone clamoring for a taste of your sweet creations.
Why You'll Love This Christmas Tree Cream Puff Dessert Centerpiece
- This incredible Christmas Tree Cream Puff Dessert Centerpiece transforms simple everyday ingredients into restaurant-quality flavors that will blow your mind completely.
- Foolproof recipe techniques guarantee perfect results every single time, making even novice cooks feel like professional chefs instantly.
- Stunning visual appeal with gorgeous colors and mouthwatering aromas creates the ultimate Instagram-worthy dish for any special occasion.
- Endlessly adaptable for different dietary needs while working beautifully for meal prep, date nights, or entertaining large groups effortlessly.
Ingredients for Christmas Tree Cream Puff Dessert Centerpiece
Here’s what you’ll need to make this delicious Christmas Tree Cream Puff Dessert Centerpiece:
1 cup whole milk – Adds richness and moisture, essential for creating the perfect cream puff dough.
3/4 cup unsalted butter – Provides a luscious flavor and helps the dough puff up nicely.
2 Tbsp granulated sugar – Sweetens the dough slightly and adds to the overall flavor profile.
2 cups all-purpose flour – The base of your cream puff, responsible for the lovely structure.
1 tsp kosher salt – Enhances flavor and balances the sweetness of the cream puffs.
6 large eggs (beaten to blend) – Vital for texture and stability in the cream puff dough.
2 cups heavy cream – This will become your creamy filling, so choose a high-quality brand for the best flavor.
2 cups confectioners’ sugar – To sweeten the whipped cream and give it that delightful, smooth texture.
3 Tbsp whole milk – To adjust the consistency of the icing if needed.
2 Tbsp corn syrup – A secret weapon to keep the icing glossy and prevent it from setting too hard.
green food coloring – To give your icing that lovely tree-like shade; adjust the amount for your desired hue.
1 cup granulated sugar – For making a sweet syrup to add sparkle and sweetness.
1/4 cup water – To dissolve the sugar into syrup for the drizzle.
1 store-bought star-shaped sugar cookie – A whimsical touch to crown your Christmas tree masterpiece.
How to Make Christmas Tree Cream Puff Dessert Centerpiece
Follow these simple steps to prepare this delicious Christmas Tree Cream Puff Dessert Centerpiece:
Step 1: Preheat and Prepare
Preheat your oven to 400°F (200°C). Line a baking sheet with parchment paper, ensuring a non-stick surface for your delicate puffs.
Step 2: Make the Dough
In a saucepan over medium heat, combine the whole milk, unsalted butter, granulated sugar, and kosher salt. Stir occasionally until the mixture reaches a rolling boil. Quickly add the flour and stir until a dough forms, pulling away from the sides of the pan, about 3-5 minutes.
Step 3: Cool and Add Eggs
Remove the saucepan from the heat and allow the dough to cool for a few minutes. This is important so you won’t cook your eggs when adding them. Once slightly cooled, beat in the eggs one at a time, mixing well after each addition until the dough is smooth and glossy.
Step 4: Shape and Bake
Using a piping bag or a spoon, pipe the dough into tree shapes on the prepared baking sheet. Make sure to leave enough space between each puff. Bake for 25-30 minutes, or until golden brown and puffy. Once baked, turn off the oven and leave the puffs inside for another 5-10 minutes to dry out.
Step 5: Whip and Color the Cream
While your puffs cool, whip the heavy cream in a separate mixing bowl until soft peaks form. Gradually add in the confectioners’ sugar, remaining whole milk, corn syrup, and a few drops of green food coloring. Mix until well blended and smooth.
Step 6: Assemble Your Tree
Carefully assemble the cream puffs into the shape of a Christmas tree, stacking from larger to smaller sizes. Once all cream puffs are in place, generously pipe the green icing around each puff and decorate with any extra festive items you have on hand, such as sprinkles or edible glitter. Top it off with the star-shaped cookie to give your tree that finishing touch.
Transfer to a lovely platter and prepare for the oohs and aahs as your family gathers around to admire and devour your festive creation. Enjoy this whimsical dessert that combines elegance with sweetness, making your holiday celebrations even more special. Happy baking and may your holidays be sprinkled with joy and deliciousness!
This showstopping Christmas Tree Cream Puff Dessert Centerpiece delivers restaurant-quality results using simple ingredients you probably already have at home. The perfect balance of textures and flavors creates an unforgettable dining experience that will have everyone asking for seconds. Picture-perfect presentation with vibrant colors makes this dish absolutely Instagram-worthy and guaranteed to impress any dinner guest. Incredibly versatile recipe that works beautifully for weeknight dinners, meal prep, special occasions, or even outdoor entertaining sessions.
Perfecting Christmas Tree Cream Puff Dessert Centerpiece Cooking Process
Preheat your oven first, then prepare the cream puff dough while the milk and butter come to a boil. As your pastry puffs bake, whip the cream for icing, allowing for efficient use of time and a seamless cooking experience.
Add Your Touch to Christmas Tree Cream Puff Dessert Centerpiece
Feel free to customize your Christmas Tree Cream Puff Dessert Centerpiece by swapping in different food colorings or adding festive sprinkles for a fun twist. You may also consider using flavored extracts in the cream, like peppermint or almond, for a unique twist on the classic.
Storing & Reheating Christmas Tree Cream Puff Dessert Centerpiece
Store any leftover cream puffs in an airtight container in the fridge to keep them fresh. They are best enjoyed the same day, but you can allow them to sit at room temperature for a few minutes before serving for the best taste.
Chef's Helpful Tips for Christmas Tree Cream Puff Dessert Centerpiece
- This professional-quality Christmas Tree Cream Puff Dessert Centerpiece relies on precise timing and temperature control to achieve restaurant-standard results consistently.
- Master the art of mise en place by prepping all ingredients beforehand, ensuring smooth execution and preventing any last-minute cooking disasters.
- The secret lies in layering flavors throughout the cooking process rather than seasoning only at the end for maximum depth.
- Pro tip: let the finished dish rest for optimal texture and flavor development before serving to hungry guests waiting eagerly.
The first time I made this, my family couldn’t stop raving about how elegant it looked and how delicious it tasted—it felt like I had won the dessert lottery.
FAQs About Christmas Tree Cream Puff Dessert Centerpiece
What is Christmas Tree Cream Puff Dessert Centerpiece?
The Christmas Tree Cream Puff Dessert Centerpiece is an eye-catching dessert that resembles a festive Christmas tree. It consists of delightful cream puffs arranged to form a tree shape and decorated with green icing, adding a whimsical touch to your holiday table. This dessert not only dazzles with its charming presentation but also offers a wonderful blend of textures with its crispy exterior and soft whipped cream filling. It’s the perfect way to impress your guests this holiday season!
How do I make the cream puff dough for the Christmas Tree Cream Puff Dessert Centerpiece?
Making the cream puff dough starts with heating milk, butter, sugar, and salt until boiling. Once boiling, you quickly mix in all-purpose flour until it forms a dough ball. Allow the dough to cool slightly before incorporating beaten eggs one at a time. Each egg should blend in completely before adding the next to ensure a light and airy texture in the finished puffs. Proper preparation of the dough is key to achieving that perfect puff shape.
Can I customize my Christmas Tree Cream Puff Dessert Centerpiece?
Absolutely! The Christmas Tree Cream Puff Dessert Centerpiece can be customized in many fun ways. You can change the color of the icing by using different shades of food coloring or layering it with festive sprinkles for an extra pop. Additionally, consider adding flavored extracts like almond or peppermint to the whipped cream for unique taste variations. Creativity knows no bounds, so don’t be afraid to make it your own!
How should I store leftover Christmas Tree Cream Puff Dessert Centerpiece?
If you have any leftover cream puffs from your Christmas Tree Cream Puff Dessert Centerpiece, store them in an airtight container in the refrigerator for the best freshness. While they are most delightful when enjoyed the same day, they can last for a day or two in the fridge. If they feel a bit stale, let them sit at room temperature for a few minutes before serving to revive their soft texture and taste.
Conclusion for Christmas Tree Cream Puff Dessert Centerpiece
Creating a Christmas Tree Cream Puff Dessert Centerpiece is not just about making a stunning dessert; it’s about sharing joy and festive spirit. This delightful treat marries ease of preparation with impressive presentation, ensuring a memorable addition to your holiday gatherings. With its delectable flavors and innovative customization options, this dessert is bound to satisfy any sweet tooth. So gather your ingredients and get ready to impress your guests with your very own Christmas Tree Cream Puff Dessert Centerpiece!
Christmas Tree Cream Puff Dessert Centerpiece
Ingredients
Equipment
Method
- Preheat the oven and prepare a baking sheet.
- In a saucepan, combine whole milk, unsalted butter, granulated sugar, and kosher salt; bring to a boil.
- Stir in all-purpose flour until a dough forms; cook for a few minutes until it pulls away from the sides of the pan.
- Remove from heat and let cool slightly before adding beaten eggs, one at a time, mixing until fully incorporated after each addition.
- Pipe or spoon the dough onto the baking sheet in tree shapes and bake until golden.
- Whip heavy cream until soft peaks form; fold in confectioners' sugar, additional whole milk, corn syrup, and green food coloring to create icing.
- Assemble the cream puffs into a tree shape.
- Decorate with icing, and top with the star-shaped sugar cookie.