
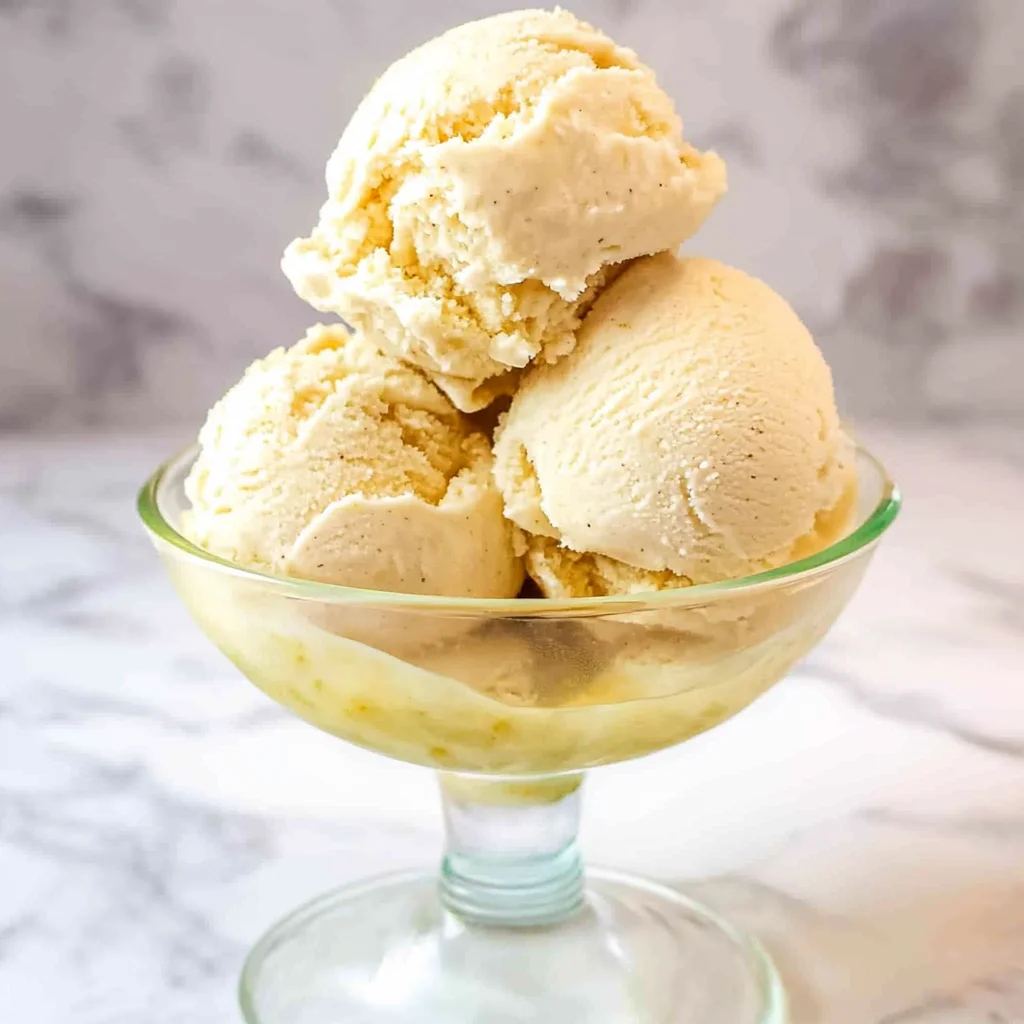
Imagine the sweet, creamy bliss of a homemade banana ice cream recipe that dances on your taste buds with every delightful spoonful. The rich aroma of ripe bananas mingles with a hint of vanilla, creating a luscious treat that’s as smooth as silk and bursting with flavor, perfect for those hot summer days or cozy movie nights.
As I whip up this frozen delight in my kitchen, I can’t help but recall childhood afternoons spent crafting the perfect scoop with friends. The anticipation builds as the creamy mixture swirls in the bowl, promising a refreshing escape from the ordinary. Trust me, indulging in this simple yet extraordinary dessert will have you craving more, making it an essential addition to any gathering or solo treat.
Why Is banana ice cream recipe So Irresistibly Good?
Creamy texture: This ice cream is incredibly smooth, thanks to the rich coconut milk or heavy cream.
Natural sweetness: Ripe bananas provide a delightful sweetness, meaning less added sugar!
Quick prep: With just 10 minutes of prep time, you’ll have a refreshing dessert ready in no time.
Versatile flavors: Customize your banana ice cream with mix-ins like chocolate chips, nuts, or berries for extra flair.
Crowd-pleaser: Everyone loves this dessert—it’s vegan-friendly if you choose maple syrup! Enjoy a guilt-free treat that satisfies cravings without the fuss.
banana ice cream recipe Ingredients
- Bananas: 4 ripe bananas (peeled and sliced) – Choose bananas that are nicely speckled for optimal sweetness and flavor in your banana ice cream recipe.
- Coconut Milk: 1 cup coconut milk (or heavy cream for a richer texture) – This will give your ice cream a creamy consistency; heavy cream will enhance richness even more.
- Honey: 2 tablespoons honey (or maple syrup for a vegan option) – Use honey for its natural sweetness, or opt for maple syrup to keep it plant-based.
- Vanilla Extract: 1 teaspoon vanilla extract – A splash of vanilla brings out the flavors beautifully, making your ice cream even more delightful.
Step-by-Step banana ice cream recipe
1. Freeze the sliced bananas: Place the 4 ripe bananas, peeled and sliced, in a freezer-safe container. Freeze them for at least 2 hours until they become solid and ready for blending.
2. Blend the ingredients: In a blender, combine the frozen banana slices, 1 cup of coconut milk (or heavy cream for a richer texture), 2 tablespoons of honey (or maple syrup for a vegan option), and 1 teaspoon of vanilla extract.
3. Process until smooth: Blend all the ingredients together until you achieve a silky-smooth and creamy consistency. Make sure to scrape down the sides as needed to incorporate everything perfectly.
4. Chill again: Transfer the mixture back to your freezer-safe container and freeze it for an additional 2 hours. This will help firm up your delightful banana ice cream.
5. Scoop and serve: Once firm, scoop out the banana ice cream into bowls and enjoy this refreshing homemade treat with family and friends!
Optional: Top with chocolate chips or fresh fruit for an extra burst of flavor!
Exact quantities are listed in the recipe card below.
Expert Tips
- Banana Ripeness: Use very ripe bananas for the sweetest flavor; the browner the skin, the better for creamy ice cream.
- Freezing Time: Ensure bananas are fully frozen for at least 2 hours; this guarantees a smooth blend and prevents icy chunks in your banana ice cream recipe.
- Creamy Texture: For a richer result, opt for heavy cream instead of coconut milk; it enhances the creaminess without overpowering the banana flavor.
- Blending Technique: Blend in batches if necessary, scraping down the sides to ensure everything mixes evenly; this helps avoid lumps.
- Avoid Over-Freezing: Don’t leave the ice cream in the freezer too long after mixing; it can become too hard. Serve within a week for best texture.
How to Store and Freeze banana ice cream recipe

- Fridge: Store any leftover banana ice cream recipe in an airtight container for up to 3 days. This helps maintain its creamy texture.
- Freezer: For longer storage, freeze the banana ice cream in a tightly sealed container. It can last for up to 1 month, but it’s best enjoyed fresh!
- Thawing: When ready to enjoy your frozen treat, transfer it to the fridge for about 30 minutes before scooping. This softens it perfectly without losing its quality.
banana ice cream recipe Your Way
Feel free to personalize this creamy treat with delightful twists that suit your taste buds and dietary needs!
- Dairy-Free: Replace coconut milk with almond milk for a lighter, nutty flavor. This swap makes the ice cream even more refreshing on hot days.
- Nutty Crunch: Add 1/2 cup of chopped walnuts or pecans for a delightful crunch. The nuts will provide a wonderful texture contrast to the smooth ice cream.
- Chocolate Lover’s Delight: Stir in 1/4 cup of cocoa powder for a chocolatey version. This variation transforms the classic banana flavor into a rich, indulgent dessert.
- Berry Boost: Blend in 1/2 cup of frozen strawberries or blueberries for a fruity twist. The berries add vibrant color and an extra layer of sweetness that’s irresistible.
- Spiced Up: Incorporate 1 teaspoon of cinnamon or nutmeg for a warm and cozy flavor. Spices elevate the banana’s natural sweetness, creating a unique combination.
- Minty Fresh: Mix in 1/4 cup of fresh mint leaves right before freezing for a refreshing twist. Mint complements the bananas beautifully, adding a burst of freshness in every bite.
- Caramel Swirl: Drizzle in some caramel sauce before freezing for added richness. The sweet, sticky caramel creates beautiful ribbons throughout the ice cream that are simply divine.
Make-Ahead Tips for banana ice cream recipe
For those busy days when you crave a refreshing dessert, this banana ice cream recipe is perfect for meal prep. You can easily prepare the base ingredients in advance: slice and freeze your ripe bananas up to 24 hours ahead, ensuring they’re ready to blend whenever the mood strikes. Additionally, you can measure out your coconut milk, honey (or maple syrup), and vanilla extract to have everything on hand. When you’re ready to indulge, simply blend the frozen bananas with the prepped ingredients until smooth, then return the mixture to the freezer for about 2 hours to firm up. This way, you’ll have delicious homemade banana ice cream at your fingertips, perfectly preserved and ready to scoop whenever you need a cool treat!
banana ice cream recipe Questions Answered
What type of bananas are best for this banana ice cream recipe?
For the creamiest and most flavorful results, use very ripe bananas. Look for bananas that have lots of brown spots or are almost completely brown; they will blend into a smoother texture and provide natural sweetness.
Can I use a different type of milk instead of coconut milk?
Absolutely! While coconut milk gives a lovely richness, you can substitute it with heavy cream for an even creamier texture. For those seeking vegan options, almond or oat milk can also work, but the consistency may be slightly less creamy.
How do I store leftover banana ice cream?
Store any leftover banana ice cream in an airtight container in the freezer for up to a week. Just keep in mind that it might harden more than traditional ice cream, so allow it to sit at room temperature for about 5-10 minutes before scooping.
What if my banana ice cream is too soft after blending?
If your mixture is too soft after blending, simply transfer it back to the freezer and let it firm up for an additional 1-2 hours. This will help achieve that perfect scoopable consistency. Also, make sure your bananas are fully frozen before blending!
How many servings does this banana ice cream recipe yield?
This delightful banana ice cream recipe yields 4 generous servings. Each serving contains approximately 150 calories, making it a guilt-free treat to enjoy anytime!
Can I add mix-ins like chocolate chips or nuts?
Yes! Feel free to fold in your favorite mix-ins like chocolate chips or chopped nuts after blending the base ingredients. Just be sure to do this right before transferring the mixture back to freeze for two hours — it adds a delightful crunch and extra flavor!